Table of Content
After setting up Internet access and a new Raspbian installation on the Pi, you can move on to set up the audio devices. This project is a good introduction to using Google API services. Now that you have a Google Assistant device, try some of the best Google Home commands---we've looked at some great Google Home mini games. Now the GPIO pin is set to output and initializes in a low state. You can run your modified script passing your model-id number as an argument.

It also organises the prestigious Elektra Awards. To enable all the Google Assistant, you will need to share the activity data of your Google account you want to use with the Assistant SDK. This JSON file authorises a device to use the Google Assistant SDK. Move this file to your Raspberry Pi’s local storage under “/home/pi”. Head to the Google Cloud Platform and select the option to create a new project.
Step 4: Download Credentials
In order to transfer the image that we just downloaded onto our SD card we are going to use a program called Etcher.io. It’s free, open source and does not require installation. To use this command make sure your chromium browser is closed and now open new terminal window and type the command. This command will launch the chromium browser with the CORS security disabled, don’t browse the internet with this disabled.

This can be modified according to your choice. Go to your router's admin page and find out the IP address. Now we need to access our Rpi through SSH. If you are on MacOS or Linux, you can use terminal.
Step 10: Audio Configuration (Part
With a minimal amount of hardware and setup, you can create a functioning home assistant linked to your Google account and controlled by voice commands. It's also for electronic hobbyists and developers with some knowledge of electronics and programming. Google provides the API for using its voice service, which is open source and available on Github. Using Google voice service, we can play music, get information about weather, book tickets and many more. In this tutorial, let’s see how to build a voice controlled smart speaker using Google assistant and Raspberry Pi. The technology these devices run on is available---at least in part---to everyone.
Make sure when you attach the microphones that there’s good sound input through the holes in the box. Once everything is assembled and ready, it’s time to install the software onto a microSD card. You can probably follow any of those tutorials you have found and just skip the voice control setup part. With that now enabled we can go ahead and ensure that we have installed the latest versions of pip and the setuptools.
Turn your Raspberry Pi into homemade Google Home
Home automation using Raspberry Pi 3B and OpenHAB. We will be using Google Home to control the relays. Recently I purchased a Google Wifi in favor of our outdated Apple Extreme.

Within this file, we need to copy the contents of the credentials file that we downloaded to your computer. To do this run the following two commands to create a folder and begin writing our credential file. On here you will need to activate the following activity controls to ensure that the Google Assistant API works correctly.
Make your own Google Home with a speaker and a Raspberry Pi 3
Use the google-auth-oauthlib with the credential JSON file downloaded earlier to authenticate your Raspberry Pi. JuiceSSH - SSH ClientThe local IP address of the Raspi can be found in the connection icon on the Raspi desktop or with the app, Fing, for Android. The first time it boots could take a couple of minutes.

To do this, run the following command on your Raspberry Pi. Also, make sure you replacewith the device ID that you obtained earlier in the tutorial. With this command make sure you replacewith the id of your project. Now with the authentication credentials now saved, Google still requires us to agree to some stuff.
On here you will want to click the “Add/Import project” button as shown in our screenshot above. 8) The chrome browser will now download a small JSON file with all your credentials stored safely inside. Find this file and rename it to ‘assistant.json’ then move it to /home/pi/assistant.json.
Run the following command to install Python3 and the Python 3 Virtual Environment to our Raspberry Pi. Let’s first update the Raspberry Pi’s package list by running the following command. If you receive an error when running this command make sure that you have your microphone plugged in. This command will only succeed if it can successfully listen to your microphone.
Semicon Media is a unique collection of online media, focused purely on the Electronics Community across the globe. With a perfectly blended team of Engineers and Journalists, we demystify electronics and its related technologies by providing high value content to our readers. So this is how we can install Google Assistant on Raspberry Pi and can turn it into a Google Home by connecting a Speaker and microphone to it.
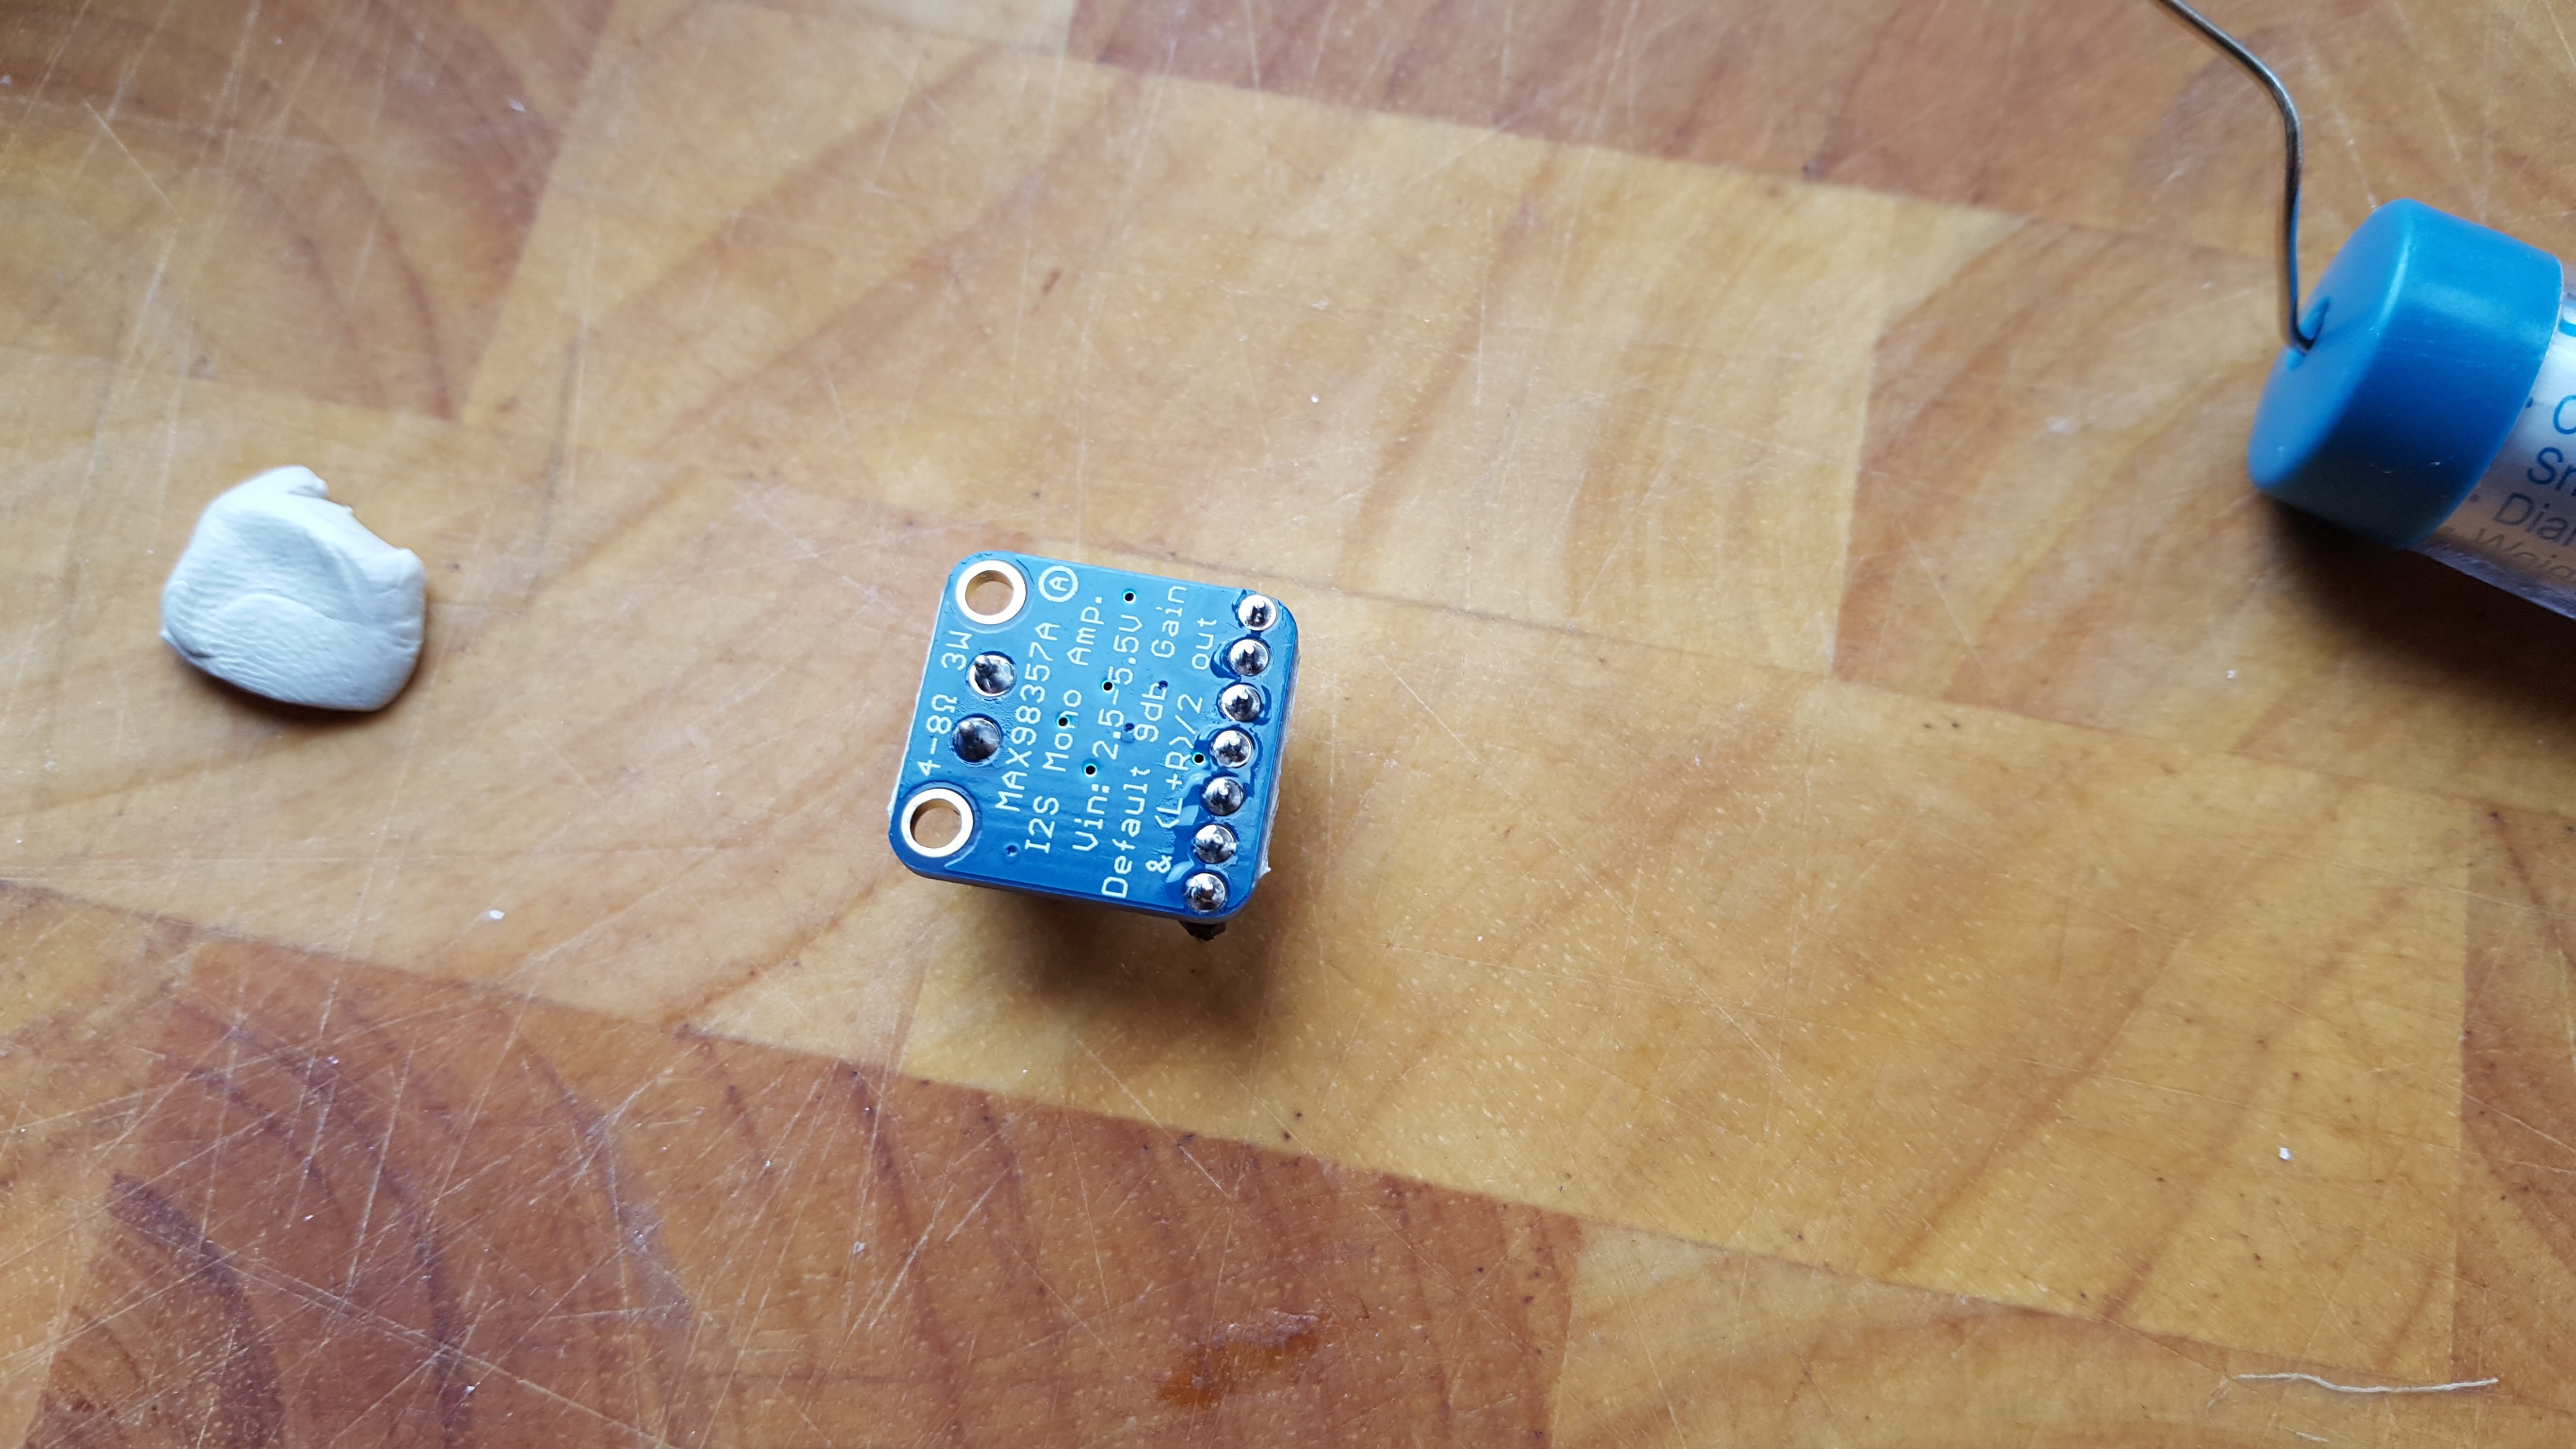
Now click ‘OK’ and double check that we are formatting the correct drive, then click ‘Format’. This shouldn’t take too long, just wait for the confirmation that the drive was formatted successfully before you move onto the next step. If you need a USB microphone, try it. Connect the speaker to the 3.5mm jack on the board and connect the USB microphone to one of the USB ports.
thoughts on “Build your own Google Assistant with Raspberry Pi 3”
I have seen there are already many tutorials for putting RPI into google home, but not many for controlling google home with RPI. AND I don't want to use the voice controlled google assistant, I want to press a button and have e.g. one light turn on and the curtains go up. Also, if this is the wrong place to post this, please guide me as to where to re-post it. The first time you run the command, it will ask for permission to use the Google Cloud account connected to our Gmail account. If everything went as planned, then the console will let you know that in order to use voice command, you'll have to press the button first. To exit out of the App press CTRL+C with the terminal window active.
I now only can start assistant with a clap, I want to use my voice like OK Google. Follow the same instructions above to install the software, but you’ll have to tweak a few things to use your own hardware. You don’t have to have the AIY Voice Kit from MagPi to make your own Google Home. Actually, all you really need is a USB microphone, some speakers with a headphone jack and a Raspberry Pi 3 (you can also connect a button if you’ve got one lying around).


No comments:
Post a Comment